How to Record a Voiceover at Home (and Make It Sound Professional)
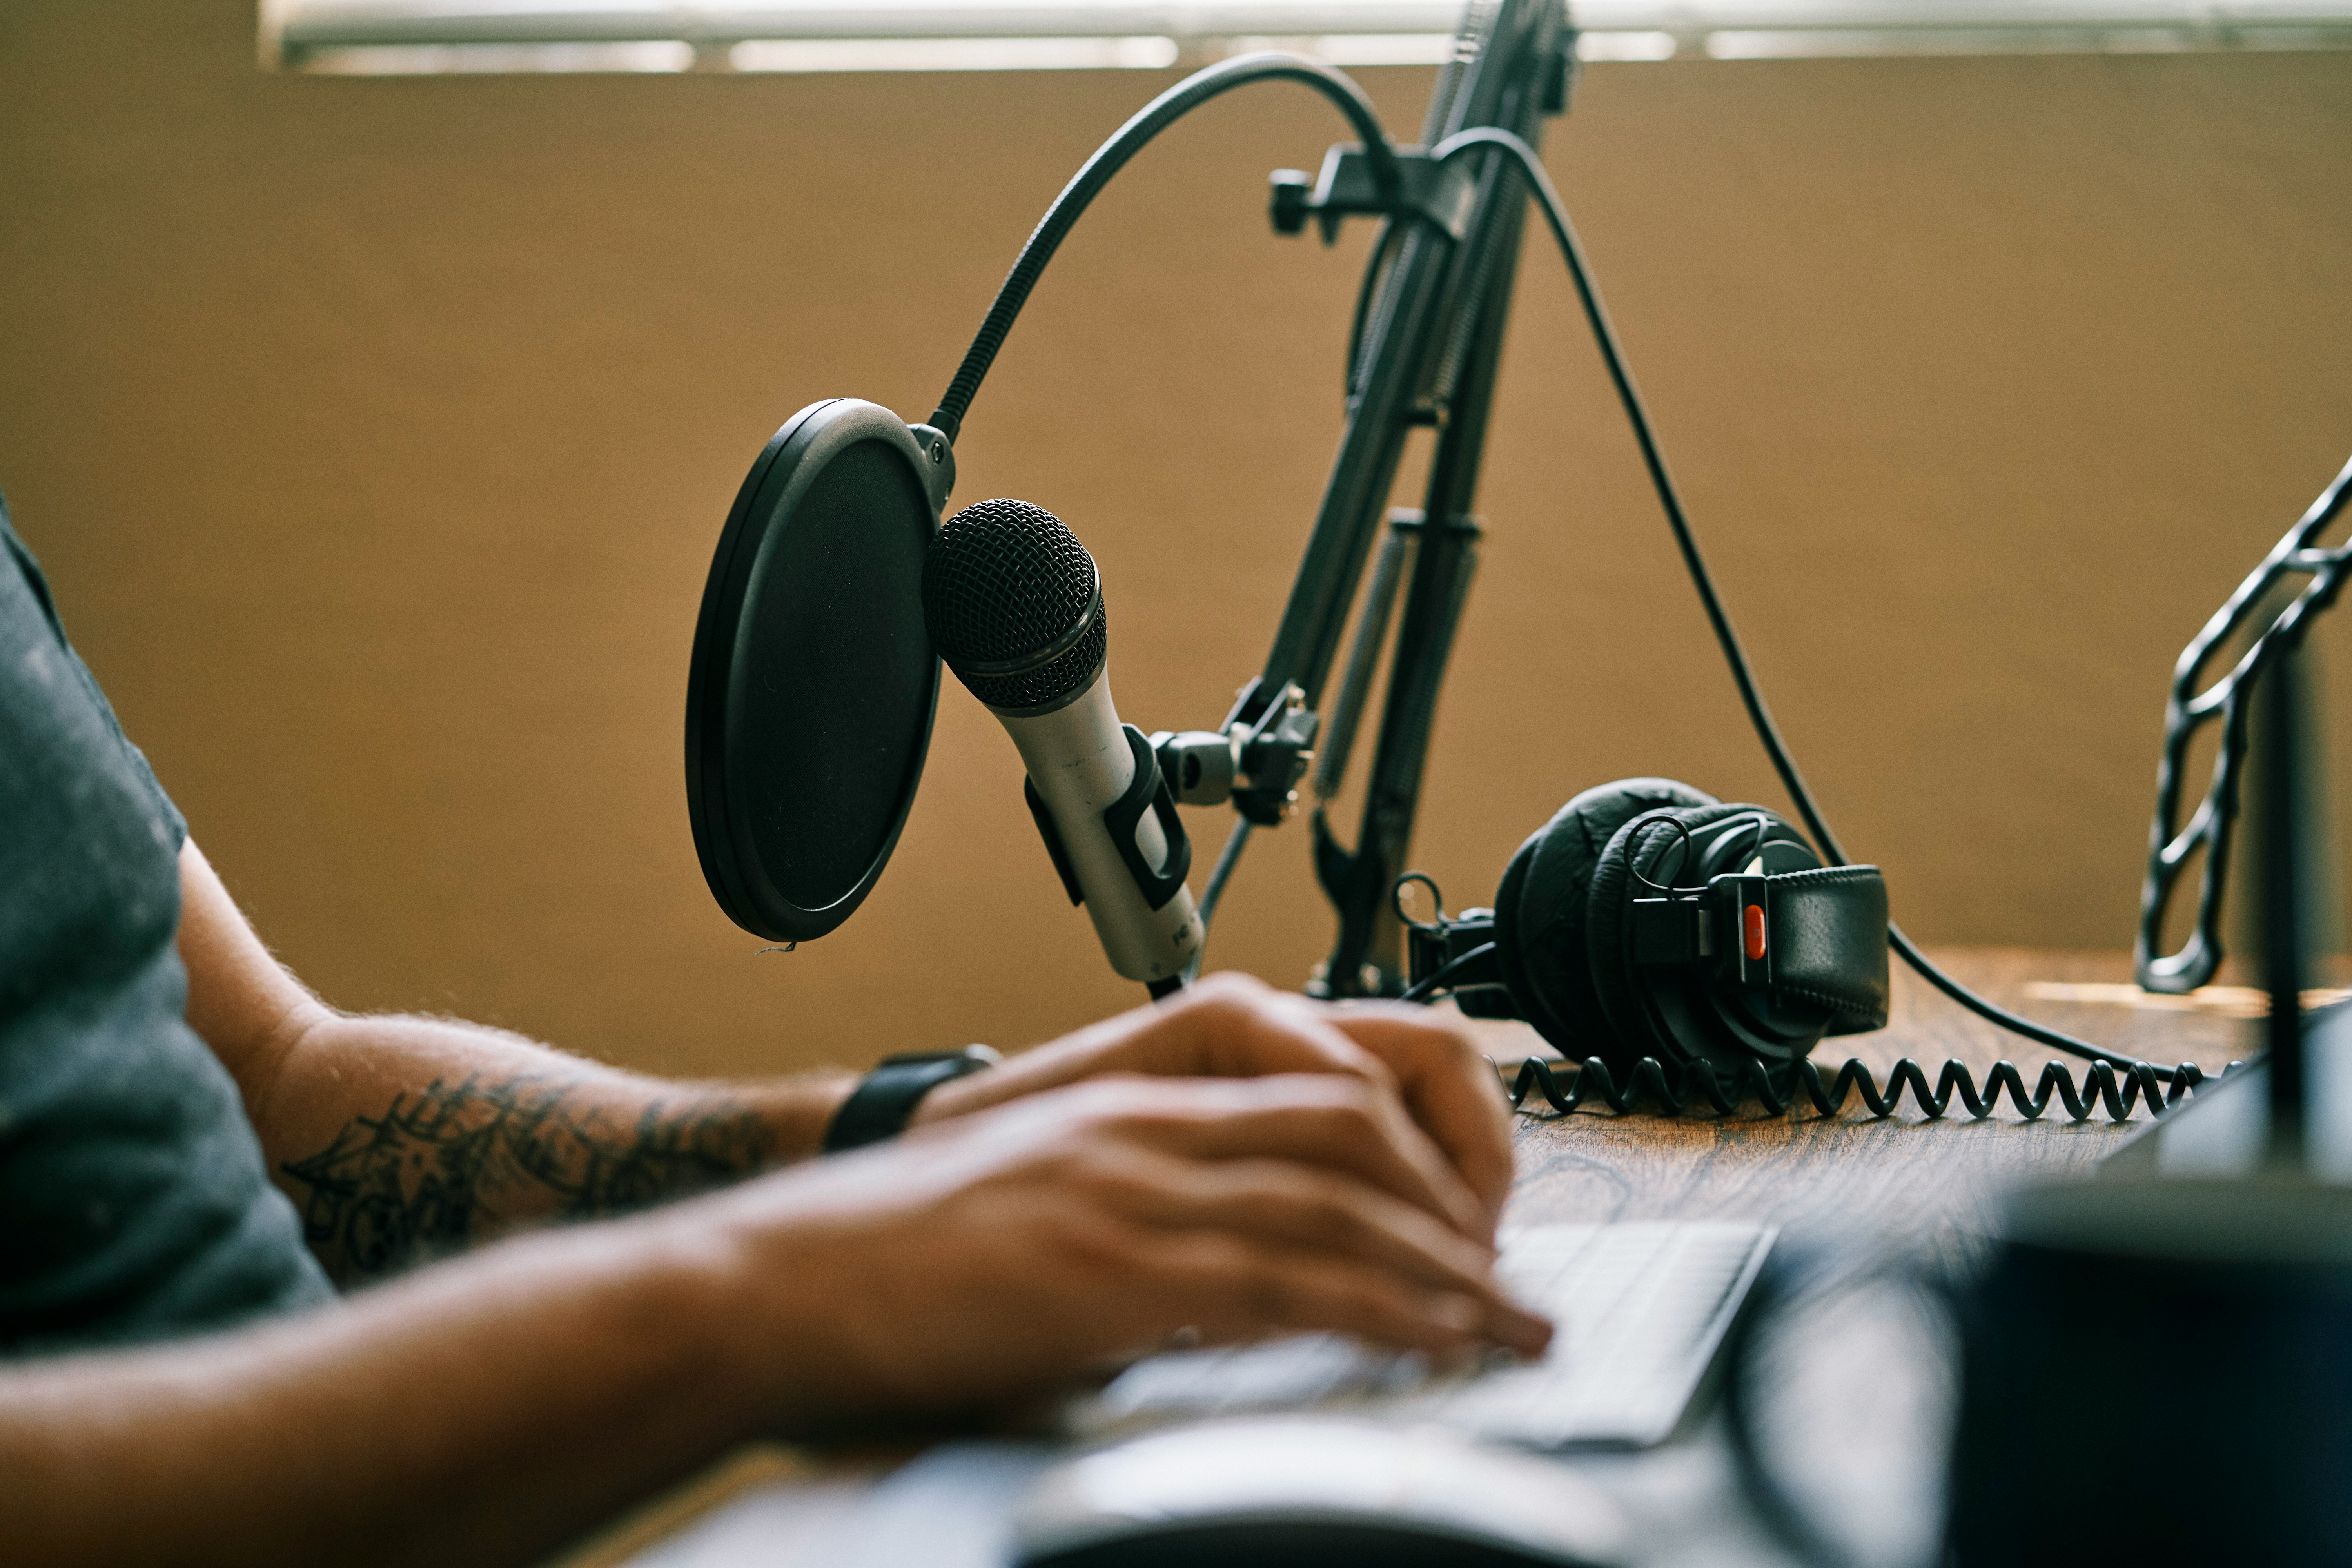
Most professional voice actors don't record in commercial studios anymore. They record at home — in treated spare rooms, walk-in wardrobes, or DIY vocal booths — and the results are indistinguishable from studio-grade recordings if the setup is done right.
This is a practical guide to getting there: room treatment, microphone technique, gain staging, and what happens after you hit stop.
The room matters more than the microphone
This is the single most important thing most beginners get wrong. A £3,000 microphone in an untreated room will sound worse than a £150 microphone in a well-treated space. The reason is reflections — sound bouncing off hard walls, floors, and ceilings creates a subtle reverb that makes recordings sound hollow and amateur, and it's extremely difficult to remove in post-production.
You don't need acoustic panels and bass traps everywhere. For voiceover specifically, the goal is reducing early reflections around the mic. The most effective approaches are:
- A treated wardrobe or closet — clothes act as broadband absorbers. A wardrobe full of hanging clothes is genuinely excellent for vocal recording and costs nothing extra.
- Reflection filters — curved acoustic panels that clip to a mic stand and absorb reflections from behind and around the microphone. A decent one costs £30–80 (prices checked May 2026) and makes a measurable difference.
- Recording away from parallel walls — if you're in a bare room, position yourself diagonally in a corner with soft furnishings (sofa, rugs, curtains) nearby. This breaks up the worst reflections without any treatment gear.
- Heavy curtains — covering windows with thick curtains kills a lot of high-frequency reflection and also reduces outside noise bleed.
Microphone and interface basics
For home voiceover recording, you need two things: a condenser microphone and an audio interface. Dynamic microphones (like the SM7B) also work well — they're more forgiving of imperfect rooms because they reject off-axis noise — but condensers typically capture more detail and clarity for narration work.
Recommended entry-level setup
- Microphone: Audio-Technica AT2020, Rode NT1 (includes a shock mount), or Sennheiser MK4 — all in the £100–200 range (prices checked May 2026) and all genuinely professional
- Interface: Focusrite Scarlett Solo or 2i2 — the standard choice for good reason. Transparent preamps, low noise floor, solid drivers
- Accessories: Shock mount (reduces vibration from desk and floor), boom arm (keeps the mic off the desk), and a pop filter or foam windscreen
You do not need to spend more than this to get professional results. The room treatment will make a bigger difference than upgrading any of this gear.
Got your recording set up? CleanCut VO handles the post-processing — noise reduction, silence cleanup, and loudness normalisation in under 60 seconds.
Try CleanCut VO Free → No credit card needed · 7-day free trial · Results in under 60 secondsGain staging: getting levels right before you hit record
Gain staging means setting your input levels correctly so that your recording is loud enough to capture detail without distorting. For voiceover, you want your loudest passages (the peaks) to hit around −12 to −6 dBFS on your interface's input meter. This leaves headroom for post-processing without risking clipping.
A few practical rules:
- If the interface's clip light comes on even briefly, your gain is too high — turn it down
- Don't try to record as loud as possible. Clipping is permanent and ruins a take; recording slightly quiet is fixable in post
- Set your gain while speaking at your loudest performance level — shouted lines, emphasis — not your average volume
- Keep consistent distance from the mic — moving closer increases bass response (proximity effect) and volume; moving further reduces both
Mic technique for voiceover specifically
Voiceover is not the same as singing or podcasting. The technique is different:
- Distance: 15–25cm (6–10 inches) from the capsule is the standard range. Closer gives more intimacy and warmth; further gives a more neutral, broadcast sound
- Off-axis recording: Try positioning the mic at a slight angle (10–15°) rather than pointing directly at your mouth. This reduces plosives without needing a pop filter and often gives a slightly fuller sound
- Plosives: P and B sounds create bursts of air that overload the mic capsule. A pop filter at 5–8cm from the mic solves most of this. Speaking slightly across the mic rather than into it also helps.
- Breath noise: Take your breath before the sentence, not mid-sentence. Pause and breathe silently between takes. This reduces the post-processing work significantly.
What to do after you've recorded
Even a well-recorded file needs post-processing before it's ready to deliver. At minimum: silence trimming between sentences, loudness normalisation to your platform's LUFS target, and a light pass of noise reduction to clean the noise floor.
In a DAW, this is 20–40 minutes of manual work per file. CleanCut VO does all three steps automatically — upload your WAV, get a broadcast-ready file back in under 60 seconds. It's particularly useful for maintaining consistent output across multiple recording sessions, where manual processing tends to introduce subtle inconsistencies in pacing and loudness.
The complete home studio checklist
- Room: wardrobe, reflection filter, or treated corner — reflections killed before recording
- Microphone: condenser or dynamic, XLR, not USB (better noise floor, more flexibility)
- Interface: Focusrite Scarlett or equivalent — input gain set to peak at −12 to −6 dBFS
- Position: 15–25cm, slightly off-axis, pop filter in place
- Recording: 24-bit, 44.1kHz or 48kHz WAV — not MP3
- Post-processing: silence trim, noise reduction, loudness normalisation to spec
Handle all the post-processing in one step. Upload your recording and get a broadcast-ready file in under 60 seconds.
Try CleanCut VO Free → No credit card needed · 7-day free trial · Results in under 60 seconds